Image may be NSFW.
Clik here to view.
I work with the 10-11 year old girls in my church in Activity Days. We threw a Mother Daughter Breakfast and I was in charge of coming up with some decorating ideas for the tables. We had some centerpieces for the tables but I also wanted to have a little something on the food table. Using my Silhouette, I cut out some white cardstock paper peony petals.
I used this shape from the Silhouette online store: 3d Peony Flower
I really liked that this peony flower was made from individual petals. I gave the girls each a stack of petals and they chose whatever colors they wanted to paint the petals. Using watercolor for the petals gives such a unique look to each one, reminiscent of a real flower. Since the assembly process was a little bit too advanced for the younger girls, I took the colored petals home and put the flowers together myself.
Image may be NSFW.
Clik here to view.
I deviated from the original shape by making my own center. I cut a small strip of yellow cardstock about 1.25 x 3 inches long. I used a pair of scissors to snip lines into it making it look like grass. I used a bead of hot glue to glue on a piece of floral wire to one side of the yellow center on the part that was not snipped into. Then I wrapped the center around itself and glued it shut. Push out the snipped yellow pieces to make the center full. This particular peony has 4 small petals that go right around the center, 3 medium sized ones to go next and then 9 large petals. Place a drop of glue onto the bottom stem part of the petal. Start with the small petals and glue them around the yellow cardstock center. Don’t start at the bottom of the yellow cardstock, start just below where the cut lines stop. That way as you add more layers, you will have a good base to glue them to. Don’t roll your petals with a pencil or anything, they look much prettier with the petals sticking straight out! Keep glueing the petals on going from small to medium to large. As you glue on each row, find where two petals touch and start by glueing your first petal right between them and then working your way around. You could add floral tape to the bottom if you want but I didn’t find it particularly necessary.
Image may be NSFW.
Clik here to view. It was interesting to see the colors that each girl chose. I helped paint some flowers for girls that missed but for the most part we had a mix of blue, red, purple, pink and yellow. One of the great things about making this into a kids project is that it is hard to mess up the watercoloring. Every girl got to take home a beautiful paper peony flower.
Image may be NSFW.
Clik here to view.
The largest sized petal was 2.195 x 2.415 inches. This made for some decent sized flowers once they were all constructed.
Image may be NSFW.
Clik here to view.
If you are love making paper flowers, I made a really big 3d paper flower wall art las month and you can see it HERE!
Want to Check Out More Silhouette Projects?
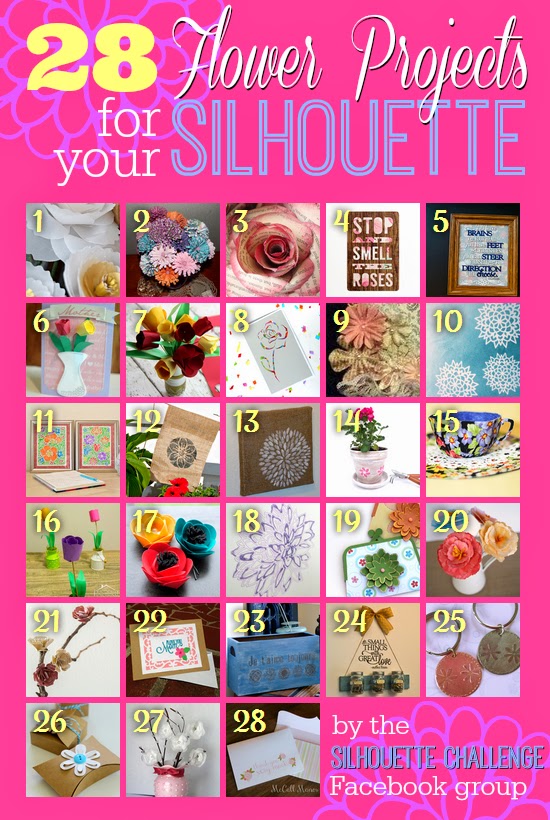
My Silhouette Challenge buddies and I are all sharing projects on our blogs today, so peruse the projects below for a wealth of Silhouette inspiration!
Image may be NSFW.
Clik here to view.
1. Create & Babble // 2. Kate’s Paper Creations // 3. Please Excuse My Craftermath // 4. Tried & True // 5. unOriginal Mom // 6. Mama Sonshine // 7. Adventures in All Things Food & Family // 8. The Experimental Home // 9. The Outlandish Momma // 10. Whats Next Ma // 11. Dream a Little Bigger // 12. Silhouette School // 13. Creative Ramblings // 14. Our Rosey Life // 15. Bringing Creativity 2 Life // 16. Practically Functional // 17. Minted Strawberry // 18. Two Purple Couches // 19. Simply Kelly Designs // 20. Grey Luster Girl // 21. TitiCrafty // 22. My Mom Made That // 23. Architecture of a Mom // 24. My Paper Craze // 25. The Sensory Emporium // 26. Ginger Snap Crafts // 27. Mabey She Made It // 28. McCall Manor //
Linking to:
The post 3d Watercolor Paper Peony Flowers appeared first on .
